Using an Orton Effect on your Photos ~ Blog
What is the Orton Effect? Essentially, the Orton effectively blurs your image to give a dream-like quality. It is commonly used among landscape photographers.
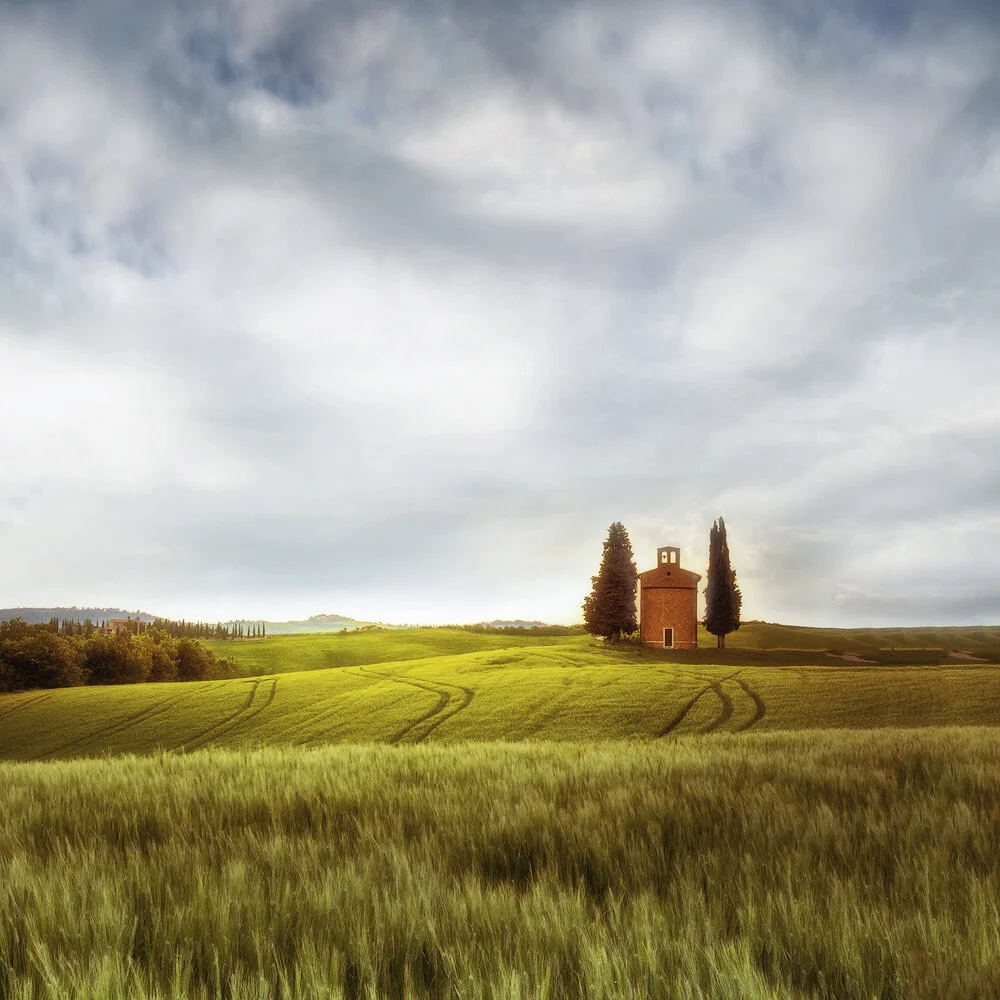
This is one of the effects I applied towards the end of my post processing technique for this image, I wanted to add that glow and warm finish.
A personal preference when post processing my landscapes is to add an Orton effect in Photoshop as one of my last adjustments, or I might do it through the process. I find it adds a softness to an image. I have set this up as an Action so I do not have to repeat the steps each time.
Apply a dreamy Orton Effect
Step 1 Duplicate your Layer
If doing this as one of your last steps, make sure your top layer is a merged layer of all layers (Ctrl >Alt >Shift >E windows) . Duplicate layer hit Ctrl J (windows) to duplicate it.
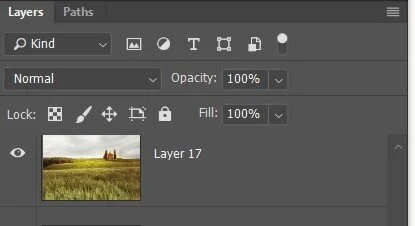
Now go to Image > Apply Image and hit OK to the default settings. Go over to the Layers panel (Window>Layers) and change the Blending Mode from Normal to Screen.
Step 2 Add a dreamy blur
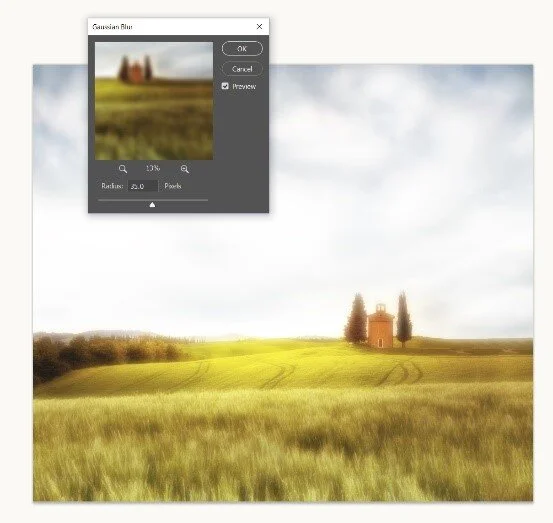
Go to Filter>Blur>Gaussian Blur and drag the radius slider until your shot looks slightly out of focus. This was 35px for this image. Hit OK when you’re done then hit Ctrl J+U to bring up the Hue/Saturation panel. Set the Saturation slider to value of 30-50 to really get the colour coming through and then OK when you’re done to apply it.
If you find the effect too strong you can drop the Layer Opacity down to subdue it a little.
Try this technique on your images to get that soft dreamy effect.
Have fun using this effect


