Turn Day into Night with Photoshop
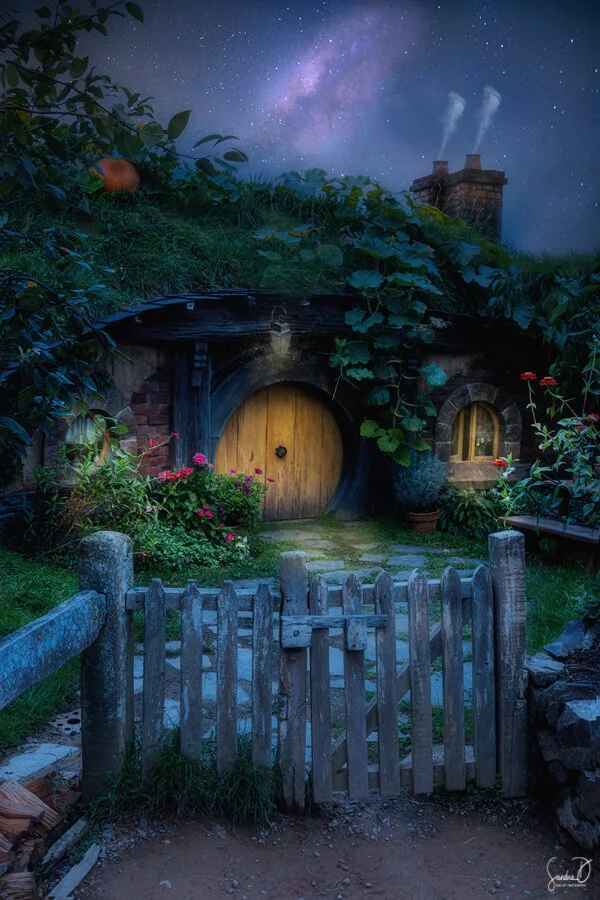
FINAL IMAGE
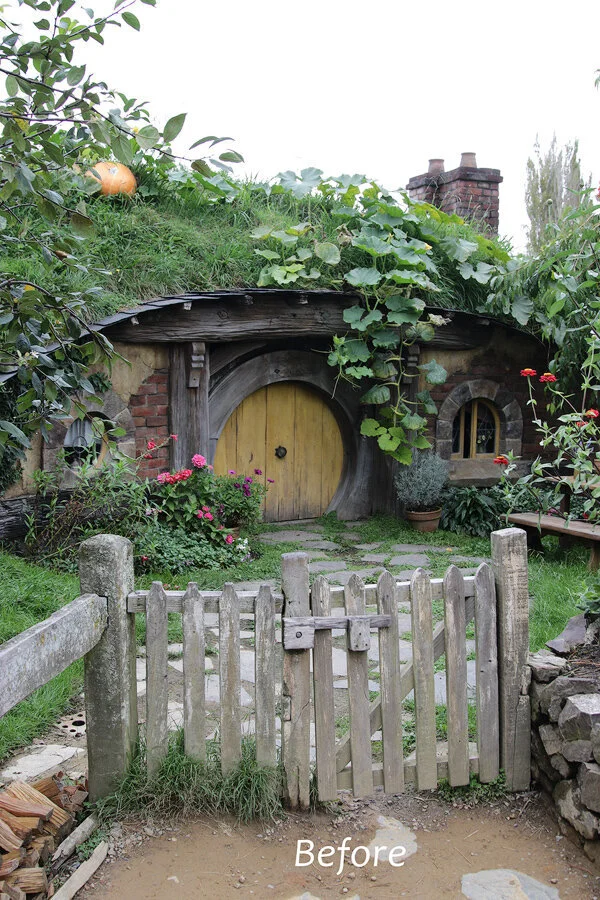
I created a series of images taken at Hobbiton, New Zealand with this technique. The photos were taken in the daytime, with blown out skies and no inspiring light. They sat in the folder waiting for something to happen and be brought to life. I wanted to create something magical that reflects this location.
The technique I used is a LUT (or known as a Look Up Table) in Photoshop. The LUT I used gives the colour range I wanted to achieve to start the process for the image, a night time feel!
What is a LUT? They are files that embed instructions to change the hue, saturation or luminosity of pixels in an image, LUTs are used very often to colour grade or add colour effects. Photoshop comes with a number of LUTs out-of-the-box, you apply them as an adjustment layer. They will change the colours of the image and some of them will also change the contrast. I have been using them for a number of years, they can give a colour grading effect or tonal range to your images, depending on what you are looking for. There are a number of LUTS already installed in Photoshop (later versions)
I will either apply a LUT at the beginning (like the day to night time image) or toward the end of the processing or during. I can apply more than one LUT if I am looking for something different in the colours or tones.
Here are the steps to get that day to night time look.
Step 1
Choose your image (this technique does not always work on all images)
Duplicate layer (Ctrl J for windows and Cmd J for mac)
Step 2
In Photoshop I applied a Levels Adjustment Layer as the base tweaking. Levels has the power to adjust brightness, contrast, and tonal range by specifying the location of complete black, complete white, and midtones in your image. I apply the Levels as my basic workflow adjustment layer.
Step 3
Now is the time to apply the LUT Table. From the menu choose:
Image > Adjustments > Colour Lookup.
In the first field, select Load 3D Lut… from the pop-up menu.
Select Moonlight or NightfromDay see which one works for your image
Click OK to apply the LUT
If you added the LUT to a duplicate layer, change the layer’s opacity to control the intensity of the effect if it is too intense ( I changed the opacity to 82%)
From here I used a mask to brush out the LUT colour (or to add lighter areas in image for example the windows and door) using a black soft brush. I lowered the opacity to brush out the intenseness of colour from the LUT
The LUT set the foundation for the colour and then I replaced the sky (using one of the techniques ) I’ve shared.
It was a learning curve at first, but fun and rewarding. I have used this technique on several images, play, experiment and have fun.
FEATURED PRODUCT
Discover the Secrets Behind this image! Watch as I take you through my process of colour correction, night sky creation, light source integration, and layer usage to produce this breathtaking image. Learn valuable tips and techniques that will elevate your skills.


